

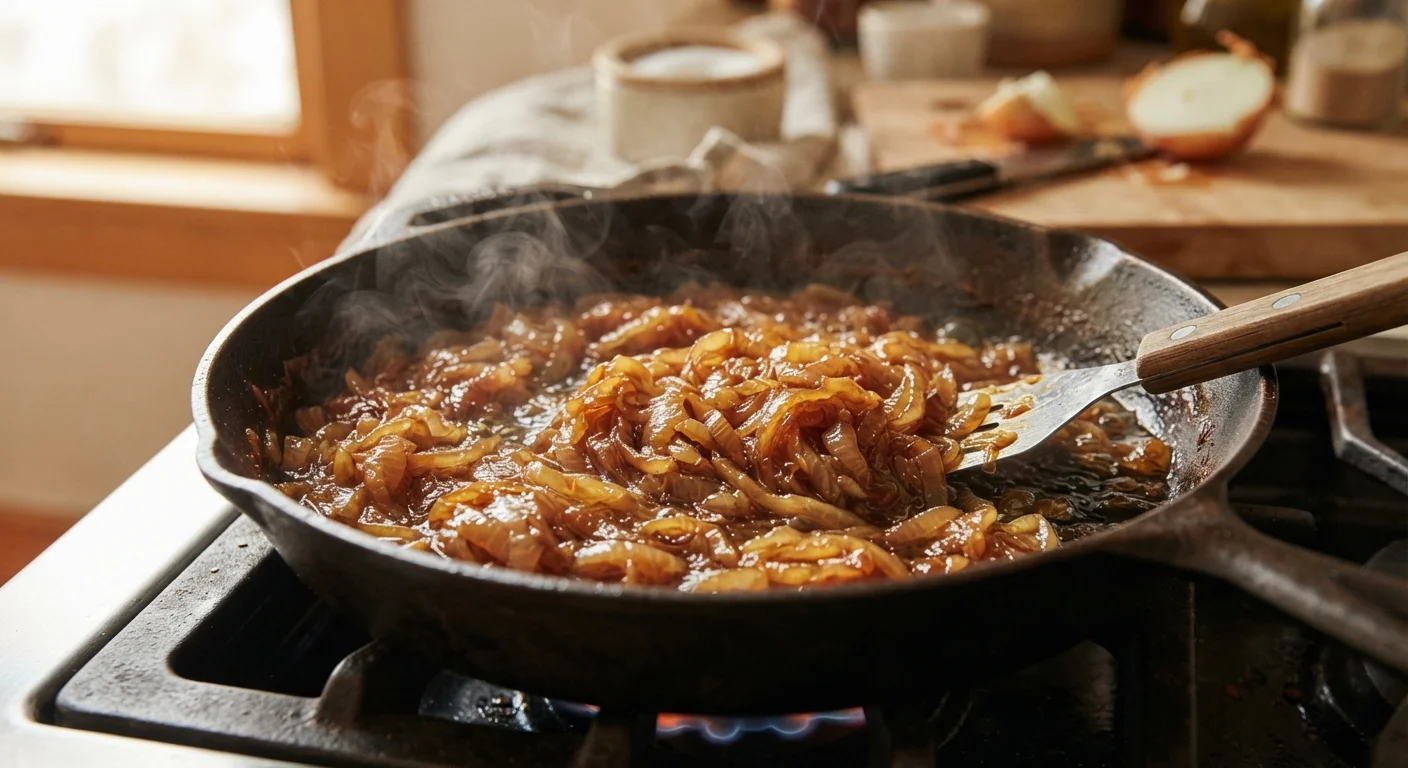
Key Takeaways
- Genuine caramelisation requires low heat and 40–60 minutes — not 10.
- Overcrowding the pan traps steam and causes onions to stew rather than brown.
- Salt added early draws out moisture, which helps — but stirring too often prevents browning.
- A wide, heavy-bottomed pan gives the most consistent, even results.
- Deglazing with a small splash of liquid rescues fond stuck to the pan without burning.
What Caramelisation Actually Is
Caramelisation is not simply browning — it is a specific chemical process in which the natural sugars in onions break down under heat, producing hundreds of new flavour compounds that are sweet, nutty, and deeply savoury. This is distinct from the Maillard reaction (which browns proteins), though both contribute to the final flavour.
Raw onions are sharp and pungent. Properly caramelised onions are soft, jammy, and almost sweet — a transformation that requires time above almost everything else. Understanding what you're actually trying to achieve makes it much easier to recognise when you're going wrong.
Timing and seasoning are closely linked. A pinch of salt added early helps draw moisture out of the onions faster, giving the process a useful head start. For a broader look at how salt timing affects cooking results, see our guide on when to add salt during cooking.
The Most Common Mistakes — and How to Fix Them
Most failed attempts at caramelised onions trace back to a small number of predictable errors. Understanding why each one happens makes it far easier to course-correct.
Cooking on heat that is too high to save time.
Why it happens: Most cooks assume caramelisation is like sautéing — a quick, hot process. Recipe instructions that promise "caramelised onions in 10 minutes" reinforce this expectation.
Packing too many onions into a small pan.
Why it happens: Onions look like they'll cook down quickly, so cooks often underestimate how much space is needed at the start. A small pan seems efficient.
Stirring constantly and not letting the onions sit.
Why it happens: Instinct tells us to keep moving food to prevent burning, and that instinct is appropriate at high heat. At low heat, it becomes counterproductive.
Using the wrong pan — thin, non-stick surfaces in particular.
Why it happens: Non-stick pans are convenient for everyday cooking, but they don't retain or distribute heat evenly enough for slow caramelisation.
Ignoring the fond and letting it burn instead of deglazing.
Why it happens: The brown bits on the pan bottom look like burning and many cooks panic, either scraping them off and discarding, or turning the heat up to push past it.
Caramelisation Takes Real Time
Many recipes dishonestly list caramelised onions as a 10-minute step. In reality, the process takes 40 to 60 minutes over low-to-medium heat. Rushing with high heat produces burned, bitter onions — not the deeply sweet, jammy result you're after. Build this time into your meal planning.
Beyond heat and time, pan choice plays a larger role than many cooks realise. A thin pan creates hot spots that burn sections of onion while others remain undercooked. A wide, heavy-bottomed pan distributes heat evenly and gives every slice of onion consistent contact with the surface.
High Heat Will Burn, Not Caramelise
Cranking the heat to speed things up is the single most common mistake. High heat scorches the outer layers before the sugars inside can develop properly, leaving onions bitter and unevenly coloured. If you see rapid browning in the first 10 minutes, your heat is almost certainly too high.
Putting It Together: A Simple Framework
Once you internalise the core principles — low heat, wide pan, patience, occasional stirring, deglaze as needed — caramelised onions become a reliable and repeatable result rather than a frustrating gamble.
~75%
Water content in raw onions by weight
Onions are largely water, which must cook off before browning can begin — explaining why the process takes far longer than most expect.
40–60 min
Realistic time for true caramelisation
Food science sources consistently place proper low-heat caramelisation in this range, well beyond most recipe estimates.
Start with two or three large onions, sliced into half-moons. Add a tablespoon of butter or oil to a wide pan over medium-low heat. Add onions with a pinch of salt, stir to coat, then leave them mostly alone. In the first 15 minutes they'll soften and go translucent. After 30 minutes they'll begin to colour. By 45 to 60 minutes, you'll have the deeply golden, yielding result recipes promise.
Good kitchen habits — including knowing your tools and how to use them — make the difference between consistent results and constant frustration. If you're working on building those habits more broadly, our piece on kitchen organisation habits that hold up is a useful companion read.